Creating interior design photography for furniture manufacturers requires precision, understanding of space, and respect for the product. This project involved photographing custom kitchens installed in apartments across different residential complexes in the city.
Kitchen Interior Photography in Residential Complexes
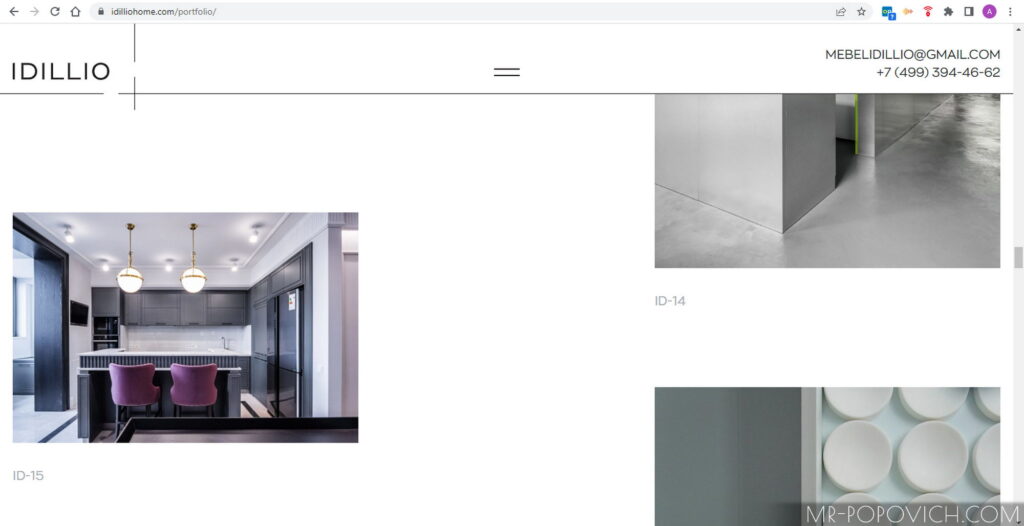
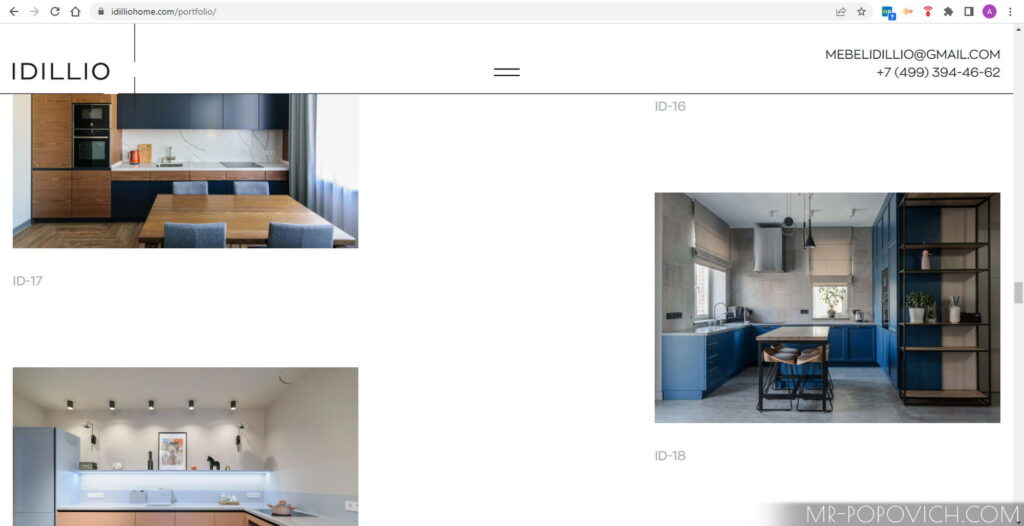
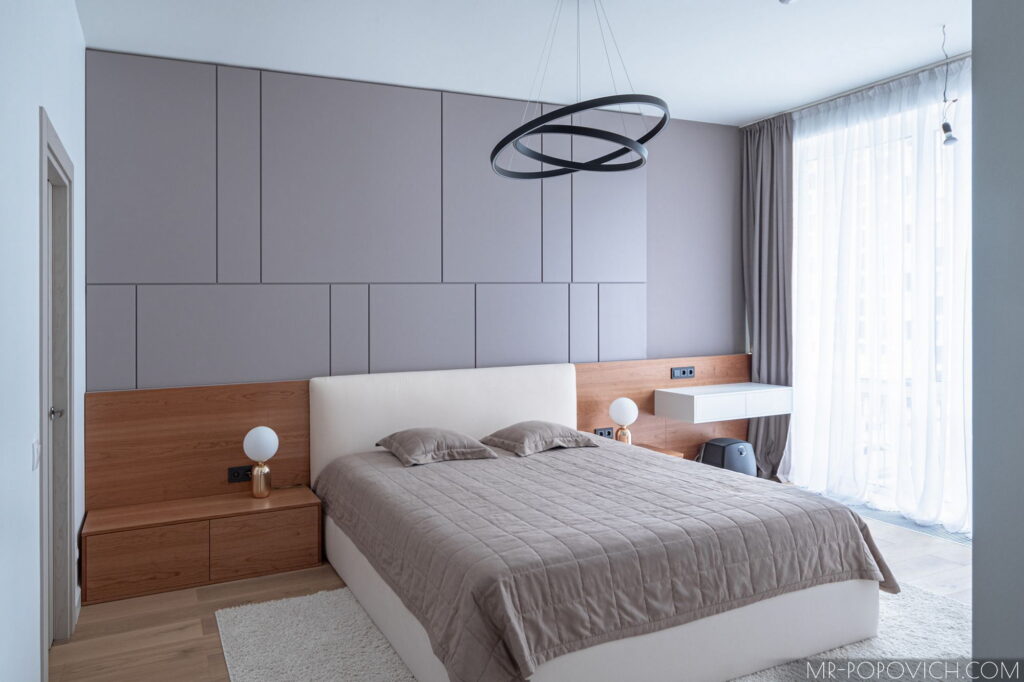
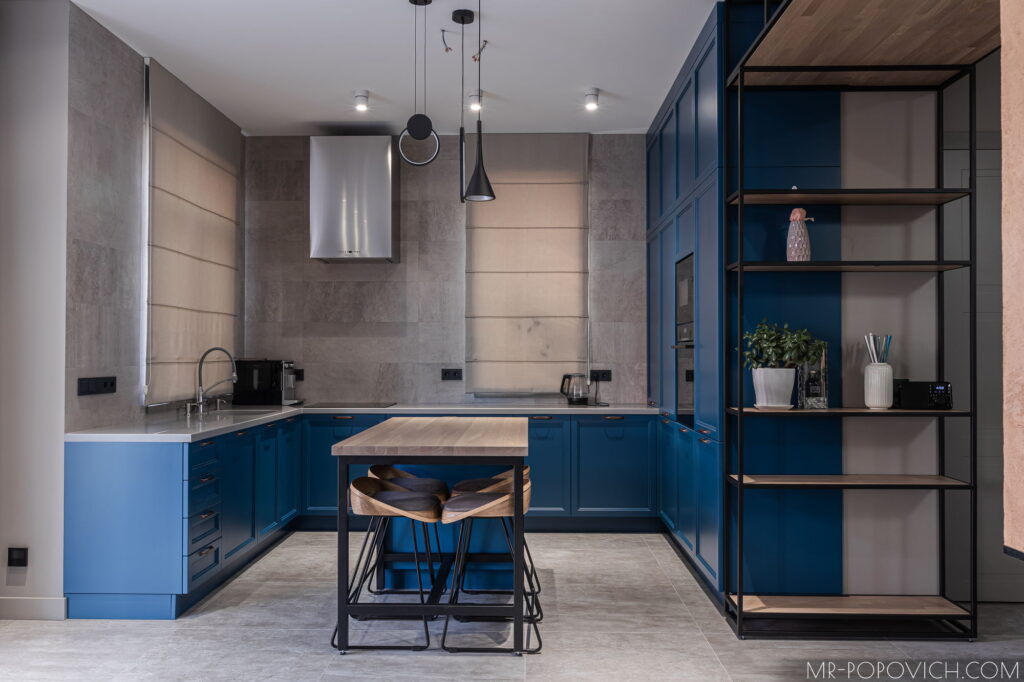
In these shoots, the goal was clear: show as much of the kitchen as possible while keeping all cabinet lines perfectly straight, just like in a 3D render. This is a common challenge in kitchen interior photography, especially in real apartments where space is limited.
Clients usually want to demonstrate functionality, materials, and proportions — not just a beautiful picture, but a clear representation of the product.
Interior Design Photography: Equipment, Space, and Perspective
The wide-angle lens is my love: 12 mm, and it fits everything into the frame (even the photographer’s ears – just kidding). But it’s important to use this wide angle of view correctly. I often use a wide-angle lens in automotive photography, but I rarely shoot interiors. Sometimes I had to take a couple of shots of the interior just as an addition to the main shoot.
But once I received a request for an interior photo shoot of a custom kitchen. The clients knew what they wanted: to fit in as much as possible, but at the same time, the cabinet lines should be perfectly straight, just like in a 3D render. Easy to say, but not so easy to do.
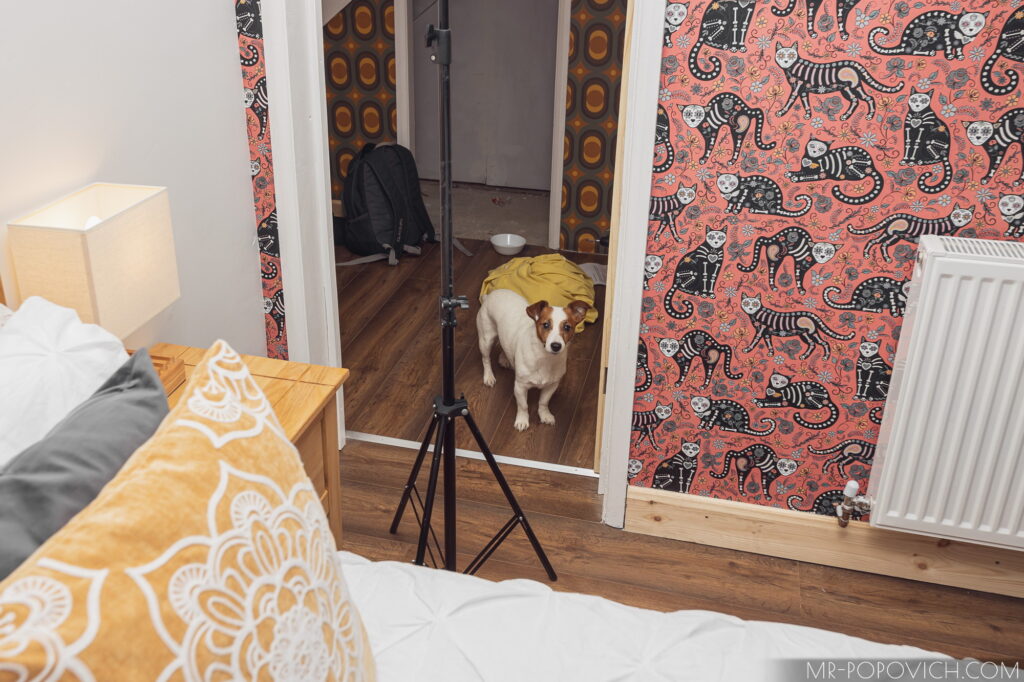
The main problem in interior photography is the lack of sufficient space. Let me explain. Surely you have a wide-angle lens on your iPhone (or in a good Android). The closer the subject is to the lens, the more it distorts. If you photograph a cat or a dog’s face with such a lens, it will be very funny! Distortions due to the wide angle stretch the subject, making it look comical.
To keep geometry correct, I stepped back as far as possible, sometimes placing the camera close to the wall on a tripod. I avoided artificial lighting and used natural daylight from windows, occasionally turning on interior lights to add atmosphere. This approach helps furniture photography for manufacturers stay realistic and honest.
Furniture Photography for Manufacturers: Editing and Accuracy
When I finished shooting, it was time for post-processing. Usually, I make a blend of different exposures (bracketing). So I get a photo with the maximum dynamic range. I have all the information in the shadows and highlights, meaning there are no areas of the frame that are too dark or too bright. Then the retouching begins, where I need to add light somewhere and dim down a bright window. And of course, don’t forget about our favorite distortions, because the cabinets should look as they do in real life – perfectly straight. And after a few hours, a dozen shots will be ready.
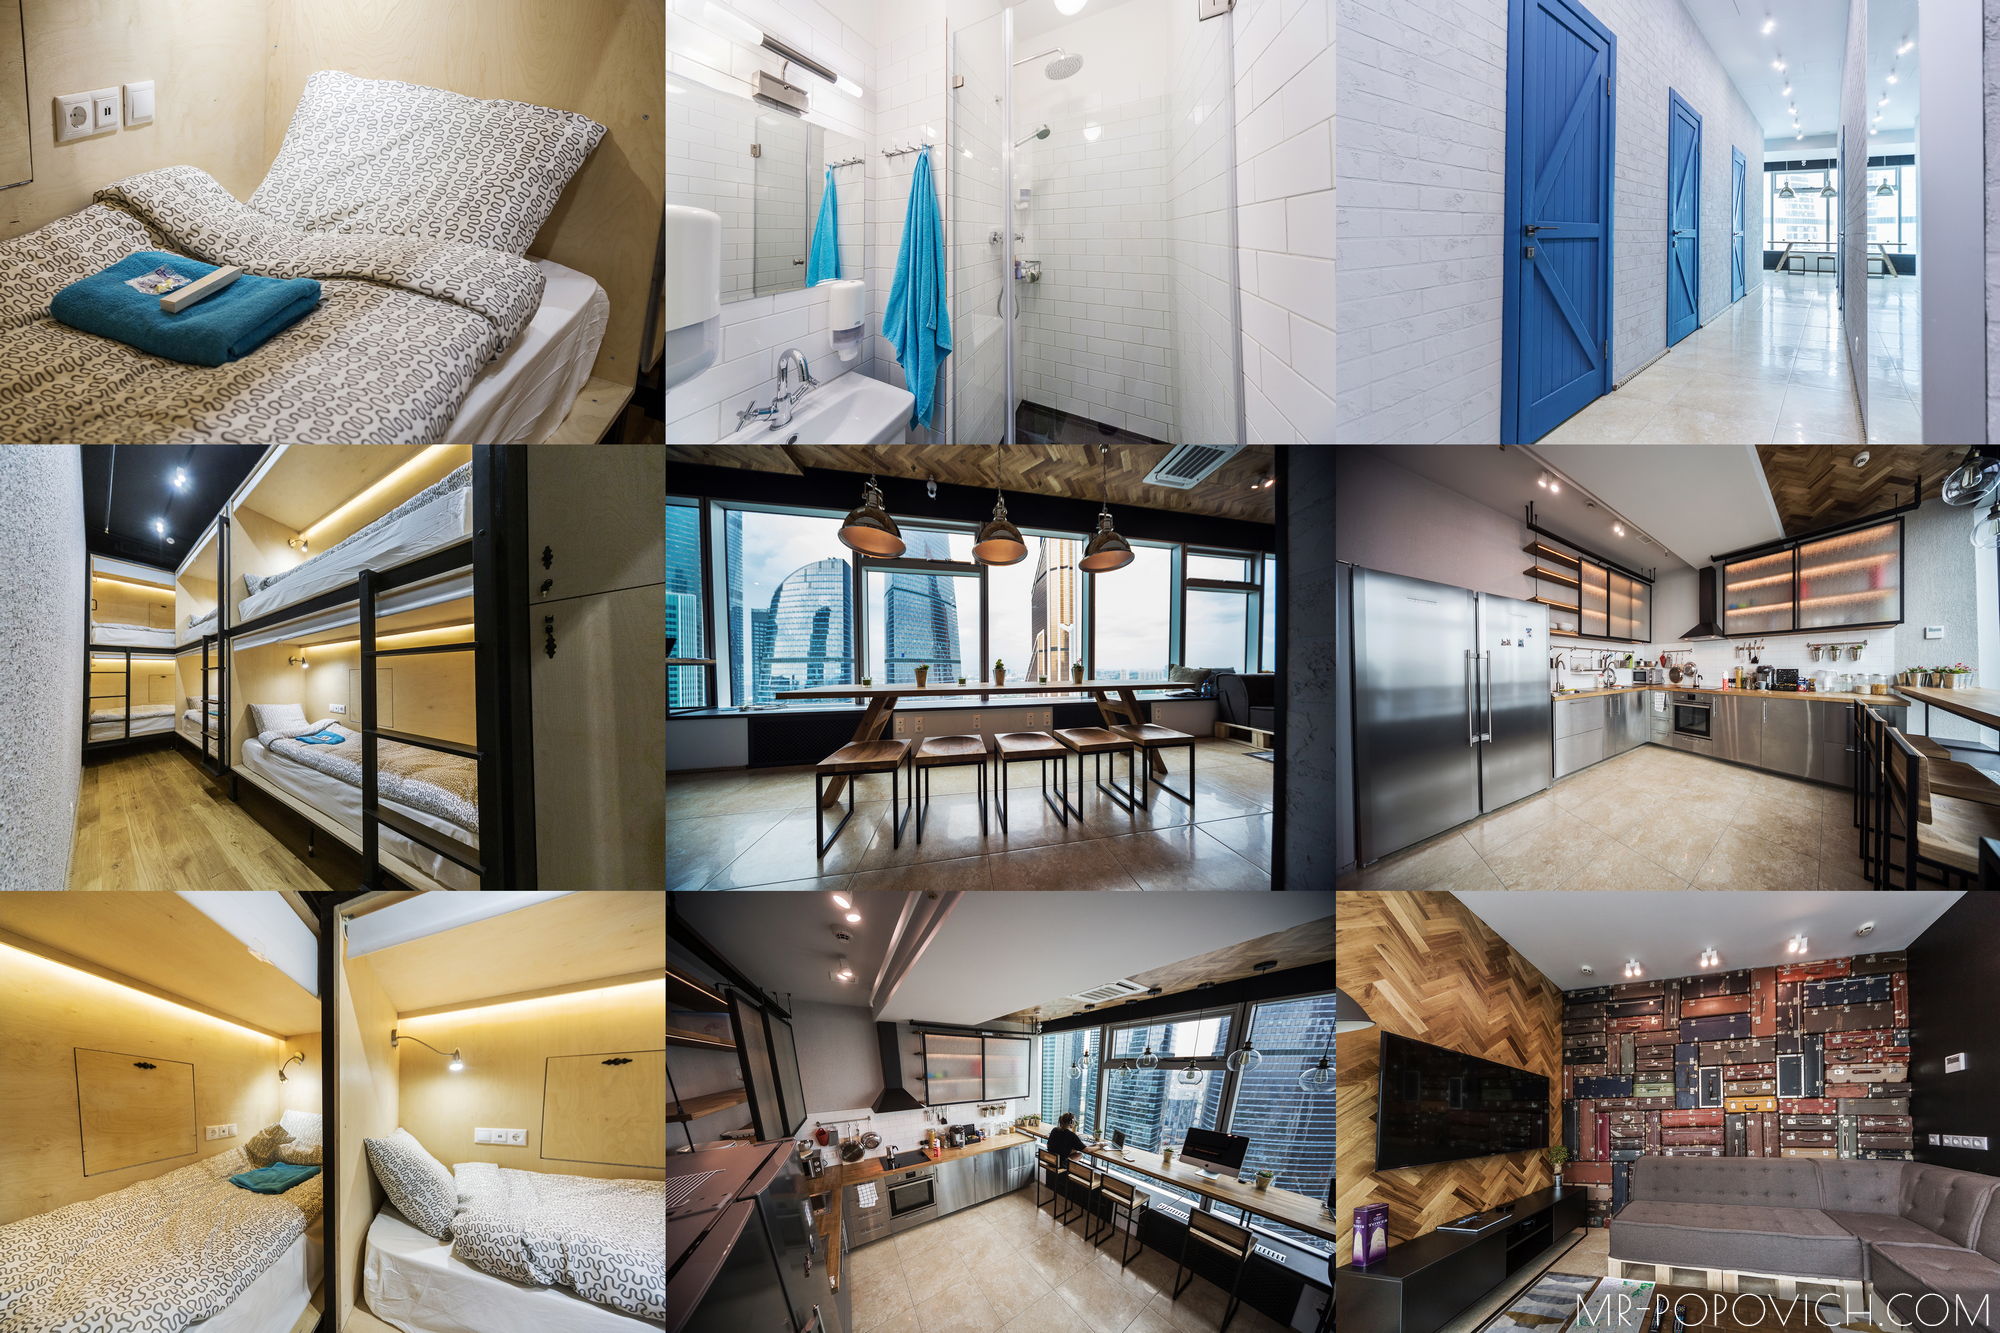
Of course, if you need to photograph an apartment for sale or a hostel for daily rent, such intricacies are unnecessary. Here the main thing is that the horizon is straight and everything is visible. In this case, turn on all the lights or open the curtains and tidy up the rooms. Your iPhone can handle this task.
Architectural Interior Photography and Construction Sites
At the end of the project, I also photographed construction sites of new cottages. Architectural interior photography at this stage helps manufacturers and developers show scale, structure, and progress.
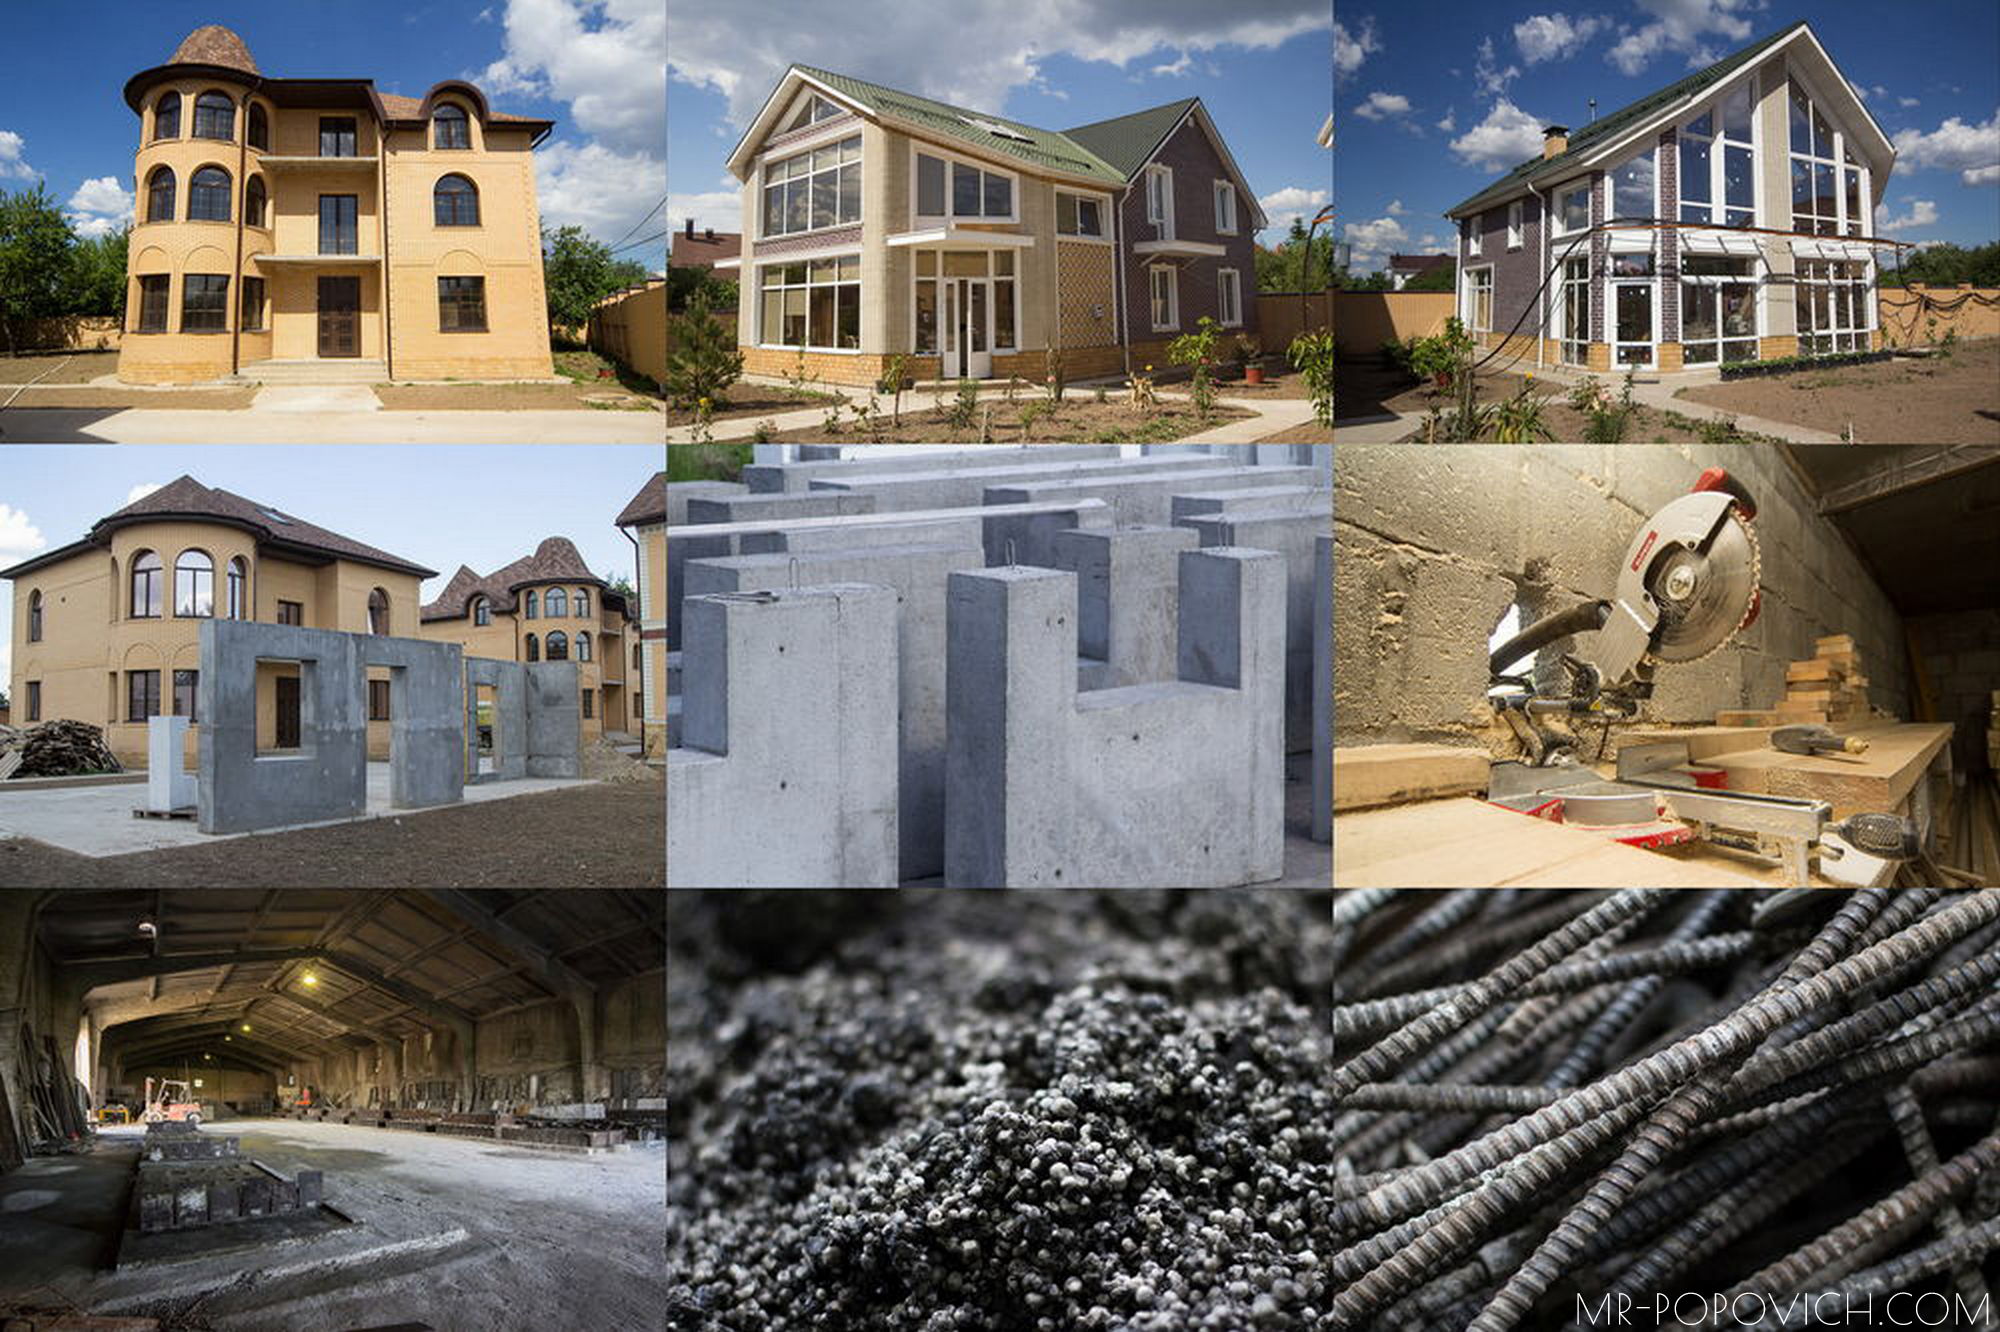
You can see more photos in the gallery.
I also want to share a short story about photographing an apartment for Airbnb. After the shoot, the owner was able to increase the nightly price, and the occupancy rate went up as well. High-quality photographs and a thoughtful shooting approach helped the apartment stand out among similar listings and attract more bookings.